

FAQ
REEFLEX PRO CAMERA VS REEXPOSE VS REEHELD
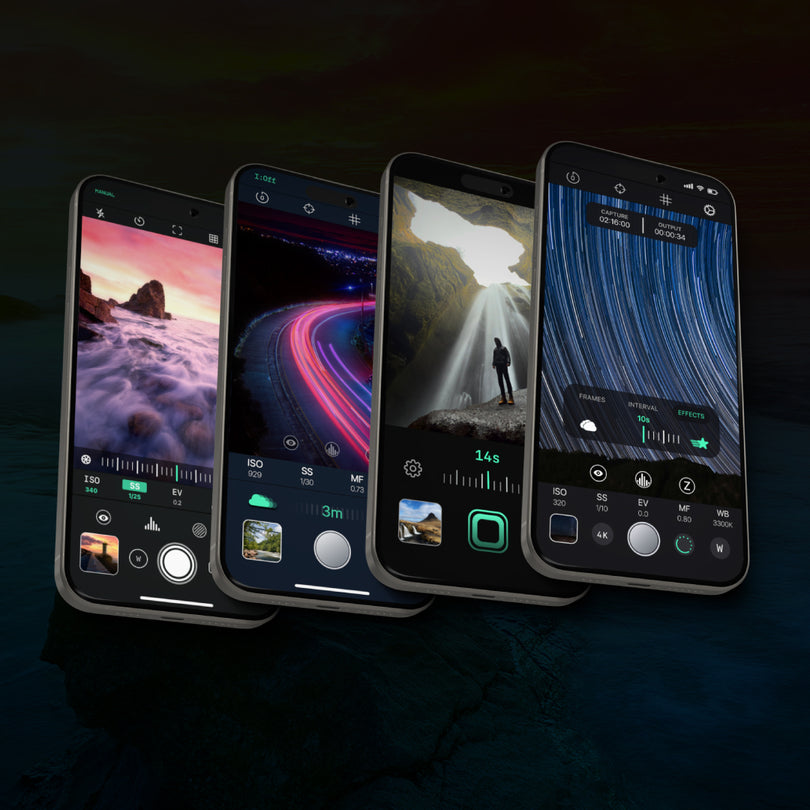
Reeflex Pro Camera provides full manual controls and two capture modes: the classic "still" photography mode in most formats (including JPG, HEIF, TIFF, ProRAW and Bayer RAW) and the Slow Shutter modes for long exposure photography in compressed formats (JPG and HEIF). Both modes utilise Apple's Smart HDR capabilities for the compressed formats, allowing you to nail the best exposure in each shot.
ReeXpose provides full manual controls and is uniquely focused on Bayer RAW long exposure photography, producing a single full 12-bit DNG file, for broader dynamic range, unparalleled editing capabilities and best image quality. Ideal for big prints and professional long exposure photography, strictly requiring editing in post-production.
ReeHeld is a point-&-shoot camera app designed for capturing long exposure photos on the go, without the need for a tripod, producing photos in JPG format. ReeHeld let’s you shoot LE photos handheld, providing incredibly sharp results thanks to AI-powered smart image alignment. Thanks to Apple's Smart HDR, the photos captured are extremely well balanced and can be easily shared with your fellow photographers, right out of the app - not necessarily requiring editing.
Reeflex Pro Camera has a broad scope of use for maximum versatility, offering both "still" photography (in elaborated, ProRAW and Bayer RAW formats) and long exposure photography in compressed formats (JPG, HEIFF) leveraging Apple's Smart HDR to nail any shot with best possible exposure. Reeflex is aimed to best serve a broader audience of photographers, from beginners to advanced, looking to have a complete set of tools for any situation or use case
ReeXpose is mostly suited for experienced photographers and professionals looking to set the bar higher with their long exposure photography, being able to work on Bayer RAW files (DNG), with higher dynamic range for enhanced editing capabilities, necessarily requiring post-processing after the photo is captured.
ReeHeld is the perfect tool for capturing stunning long exposure photos on the go, designed for both amateur and professional photographers. With its easy-to-use interface and intelligent stabilisation technology, ReeHeld is particularly well-suited for amateur photographers looking to experiment with long exposure photography, or for those who want to capture breathtaking images when not carrying a tripod. Shoot long exposure, anytime, anywhere.
COMMON ISSUES
Due to a well-known internal bug of the iOS system, which is common across all third-party camera apps, one can at times experience a failure in having photos being saved when shooting in RAW and ProRAW formats.
This issue is caused by the other apps which one has running in the background, that create conflicts in terms of the available device memory, which is highly impacted when shooting in RAW / ProRAW / IFF, as those formats require an extremely intense amount of data processing when captured (10-50 MB size per photo).
Currently the only available solution to this is to close all apps in the background to free up the device’s memory. In the meantime we are working on implementing a “rescue mode” within the app, which will allow you to save a copy of each photo in the files library and make them available in the native Photo app. This backup feature will come in one of our next releases.
Any issue affecting the Gyroscopic Tilt-meter is usually driven the iPhone settings you might have in use. The following steps will allow you to reset the Gyroscopic Tilt-meter and have it work as designed:
1. In the Settings, go to: Privacy > Location Services > System Services > Compass Calibration.
2. Make sure that the calibration setting is checked (active).
When shooting in Light Trails mode (LT), it is advised to adjust the Shutter Speed (SS) and ISO - within the manual controls, on the main view - as needed, depending on the light conditions the shooter is in.
Most often, in order to achieve more linear and continuous trails of light, it is advised to go below 1/30 of SS value, or even below 1/15 and further down if needed.
This will ensure the shooter does not get the so called "morse code effect", which is when the trails of light are showing as shorter ad repeated trails, not providing the smooth and linear end result one is after.
Unfortunately, Apple restricts manual control options for ISO and shutter speed when shooting at 48MP resolution on devices like the iPhone 15 Pro. This limitation is imposed by the manufacturer and is not specific to our app. As a result, you can only manually adjust focus, exposure, and white balance settings while shooting at the highest resolution. While we understand the desire for greater control over all aspects of photography, this restriction is beyond our control. We appreciate your understanding.
As designed by Apple, you cannot change the aperture on any iPhone, since the aperture is fixed.
Each of the different cameras one iPhone can have, has a different aperture and F-stop which is fixed and cannot be changed.
The effect of a larger or smaller aperture on the depth of field can be only simulated with software at the moment, which only apple native camera app does (Depth Control).
COMMON QUESTIONS & HOW TO
A RAW file/image is used as the input to an editing process that results in a conventional image format such as JPG or TIFF.
In order to export your RAW images/files to a different device, such as your Mac or PC/laptop, you have different solutions.
1. Use iCloud Photos to access the original RAW files in full resolution on all of your devices.
2. To transfer the original RAW file from your iPhone to another iPhone, iPad, or your Mac, you can uus AirDrop.
3. If you edited the photo in the Photos app directly in the iPhone and then you share it, you'll share a JPG file. To share the original RAW file from the Photos app on your iPhone, tap Share, tap Duplicate, tap Edit, tap Revert, then share the photo using AirDrop.
4. To share an edited RAW photo with someone else, edit the photo in the Photos app on your iPhone, then AirDrop, email, or send with Messages. A JPG file that includes your edits is shared.
5. To email a RAW photo, create an email in the Mail app on your iPhone, then add the photo to the email. The Mail app automatically converts the RAW file to a smaller JPG file, which you can then send with email.
6. If you edit a RAW photo and want to share both the original RAW file and the edited JPG file, use Image Capture on Mac or the Windows Photos app on a PC to import the files.
7. If you’ve edited a RAW photo in the Photos app on your Mac, and you want to use your Mac to share the original RAW file only, select the photo in the Photos app, then choose File > Export > Export Unmodified Original.
Please follow these instructions to download the DNG from iCloud:
https://discussions.apple.com/thread/252707840?answerId=255108963022#255108963022
The solution is to download the file as original. The same applies if you try to import the file from your local computer. If you have a mac, here is what you do:
1. Connect your iPhone and open the Photos app.
2. Import the file
3. Select the RAW file from the imported ones.
Click "File" -> "Export" -> "Export" unmodified original. You will find the DNG in the location you chose for saving.
The remote bluetooth shutter & volume toggle functions are present but are not “perfect” yet and still under development.
For now, here is what to do to make it work:
1. Make sure that the the volume on the device, before opening the app, is not at its maximum or minimum.
2. Make a fresh start of the app. After the app is running and you put it in the background, it stops working.
We are currently working to improve this in a future release, coming very soon.
Our apps currently capture images in the standard 4:3 full-sensor size, enabling flexible cropping to any desired aspect ratio during post-production. We may introduce additional aspect ratio options in the future. Please note, when selecting a different aspect ratio, the app will crop from the original 4:3 full-sensor image, which is our standard format.
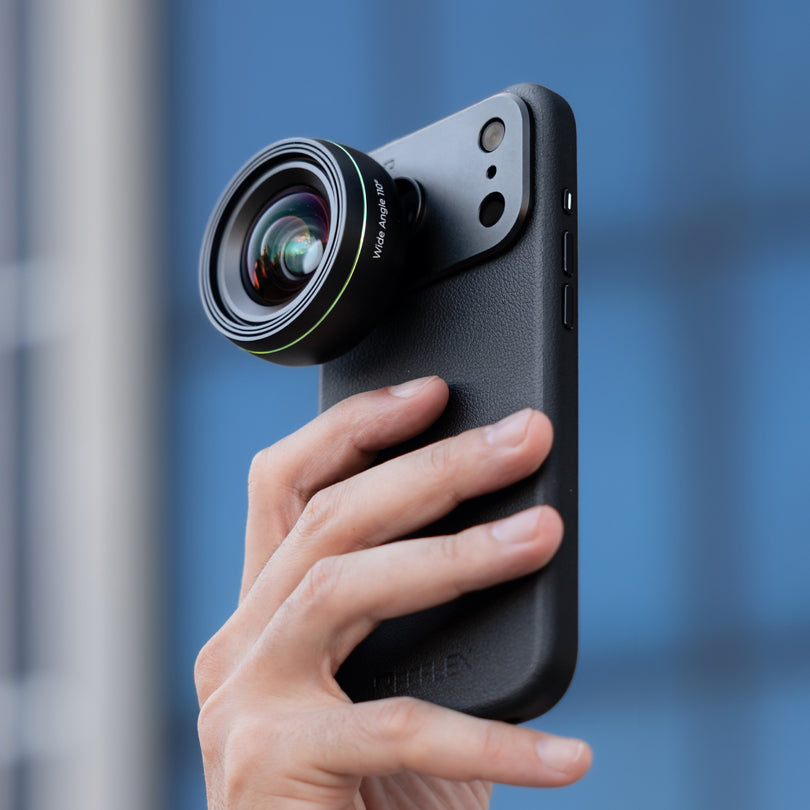
Yes, you can shoot macro using the Reeflex Pro Camera app.
To do this, switch to the ultrawide camera (U) within the app, position yourself close to the subject, and utilize either auto or manual focus.
Additionally, the app offers the advantage of focus peaking to assist in selecting the appropriate focus point. The resulting images are comparable to those captured with the native camera app, as switching to the ultrawide lens mirrors the functionality of the native camera.
Reeflex Pro Camera enhances this experience by providing manual controls. However, it's important to note that since the app supports manual controls, it does not automatically switch lenses, and there isn't an automatic macro mode currently available (though this may be a possibility in future updates).
It's worth mentioning that macro mode using the ultrawide camera is only feasible on iPhone 13 Pro and newer models.
This limitation arises because previous models, including non-Pro versions, have a fixed focus on the ultrawide lens, rendering macro functionality impractical.
However, a downside of shooting macro with the built-in Ultrawide camera is the shallow depth of field, resulting in a flatter image.
In contrast, using real optical magnification through an add-on lens, such as our Macro lenses, makes the subject stand out and separate from the background.
It is currently NOT possible to shoot photos in 48MP with the industry Bayer RAW format (the classic RAW format).
Our app Reeflex Pro Camera, when selecting RAW format, produces DNG files in the standard Bayer RAW format (CFA, Color Filter Array).
Since the iPhone 14 Pro/ProMax have a quad-bayer sensor, it can only produce 12MP RAW files (4 pixels are grouped in a single color in the Bayer pattern).
Note: Apple ProRAW format should not be confused with the industry Bayer RAW format, as they are two completely different formats. Apple ProRAW allows 48MP, while RAW does not.
No - there's no way one can adjust the aperture of the iPhone's cameras, as those are fixed and cannot be changed by the user.
Note #1: the aperture value vary from camera to camera, for those iPhones that have more than just one camera available (like i.e. from iPhone X/XS above).
Note #2: the aperture is calculated from the real or physical focal length of the respective lens, not the equivalent focal lengths as listed above. While Apple does not list the actual focal length in the specs, it can be estimated from the FOV (field of view) and the sensor size to be in the single-digit millimeter range.
RAW and ProRAW photos captured on an iPhone use the industry standard digital negative (DNG) file format.
DNG is a lossless format equivalent to RAW. Originally DNG is an Adobe's proprietary image standard that was created to store image data in a generic, highly compatible format. DNG is the file used for all RAW photos on an iPhone.
You can open both type of files with the majority of the editing apps out there - like Lightroom, Darkroom, etc - which are compatible with DNG files.
You can share the original unedited RAW or ProRAW photo, which has the .DNG file extension. And if you edit the photo in the Photos app, you can also share the edited version, which has the .JPG file extension when shared.
More info on the official apple support: https://support.apple.com/en-sa/HT211965
Reeflex Pro Camera and ReeXpose apps utilize Reeflex-designed algorithms to produce computational long exposure photography.
This works very differently than how long exposure photography is usually produced with a regular DSLR camera, and provide incredible results with ease and without needing ND filters. The apps in fact take multiple pictures and stacks them together for creating a long exposure photo, a process often called Frame Averaging.
In the app, the shutter speed (SS) is related to the sensor and is translatable to the shutter speed in a DSLR. While the capture duration is the total time during which the app keeps acquiring frames which are then merged together.
As an example, if you would set a SS of 1s and a capture duration of 10s, the app will acquire 10 separate photos (each acquired with 1s shutter speed) and will stack them to produce the final result.
You can see the capture duration as the number of frames that the app acquires. The longer the duration, the more frames are averaged with subsequent more “blur” in the picture.
Here, it is important to notice that in Motion Blur mode, the level of exposure is not affected by the capture duration (i.e a 2 min photo will be almost as bright as a 3 min photo). This is also why the apps can produce long exposure without ND filters.
The shutter speed controls the exposure of the single frame. Setting a slower shutter speed will result in brighter pictures, regardless of the capture duration.
Note: the shutter speed of any iPhone device is currently limited to 1 second by the manufacturer. There's no way one can go beyond that, hence the reason for the need of computational photography to obtain long exposure photography.
iPhones - if they have more than one camera (hence from the iPhone X model and above) - use all of their cameras simultaneously, when shooting with the native iPhone's Camera app.
Being all of the 2 or 3 cameras active (depending on whether you are using a standard iPhone 13/13 Mini or a 13 Pro for example), the native Camera app decides for itself which of the cameras to use based on the shooting conditions you are in and based on the nearest subject in focus.
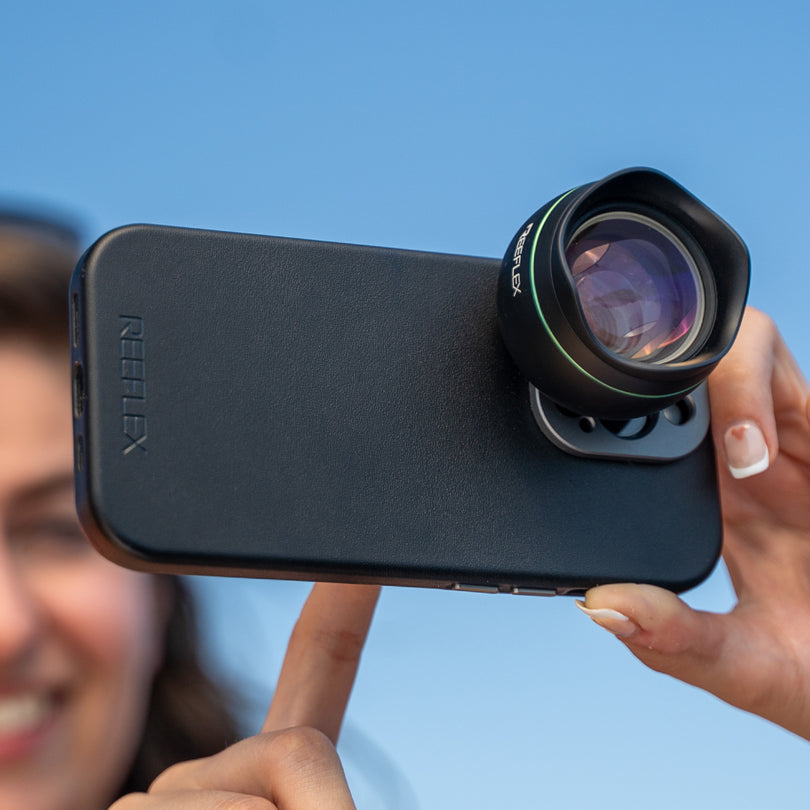
When using our Pro Series Lenses, since the lens is the closest object to the iPhone cameras, the native Camera app automatically chooses by itself which camera to use, to have the nearest object in focus = the lens. This might end up causing you to see the lens in the viewfinder as the iPhone does not allow you to select which of the avaiable cameras to use.
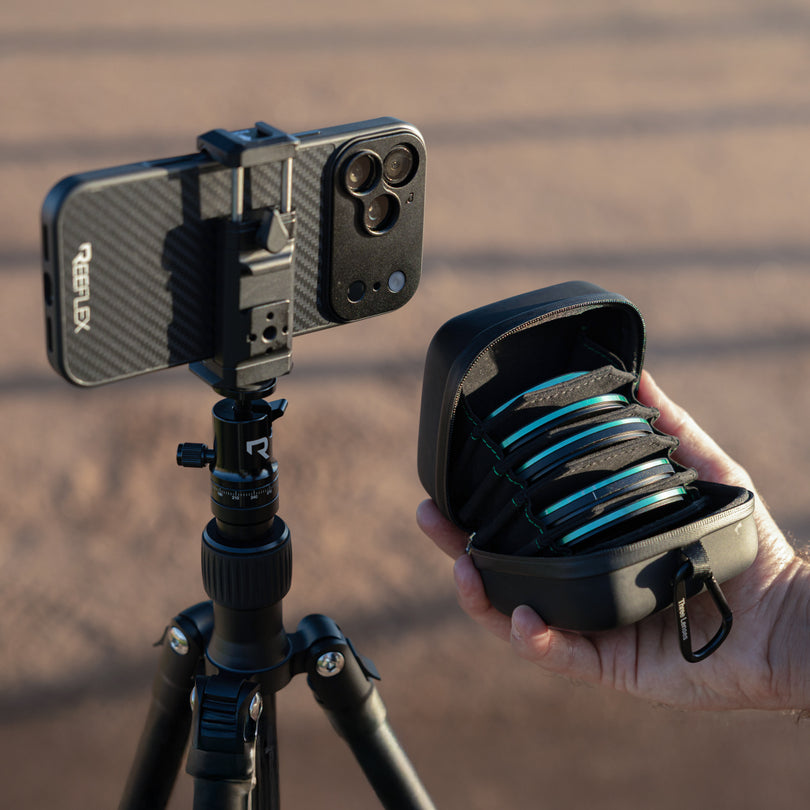
To avoid this to happen we advise using our Reeflex Pro Camera app, when shooting with our Pro Series Lenses and Pro Series Filters, which allows you to uniquely choose which iPhone camera to use (out of the 2 or 3 cameras available) depending on
GOT QUESTIONS? WRITE US: SUPPORT@REEFLEXSTORE.COM
SUBSCRIBE and stay up to date
Get access to exclusive offers, pro tips, and epic adventures. We won't spam and we'll never share your information.