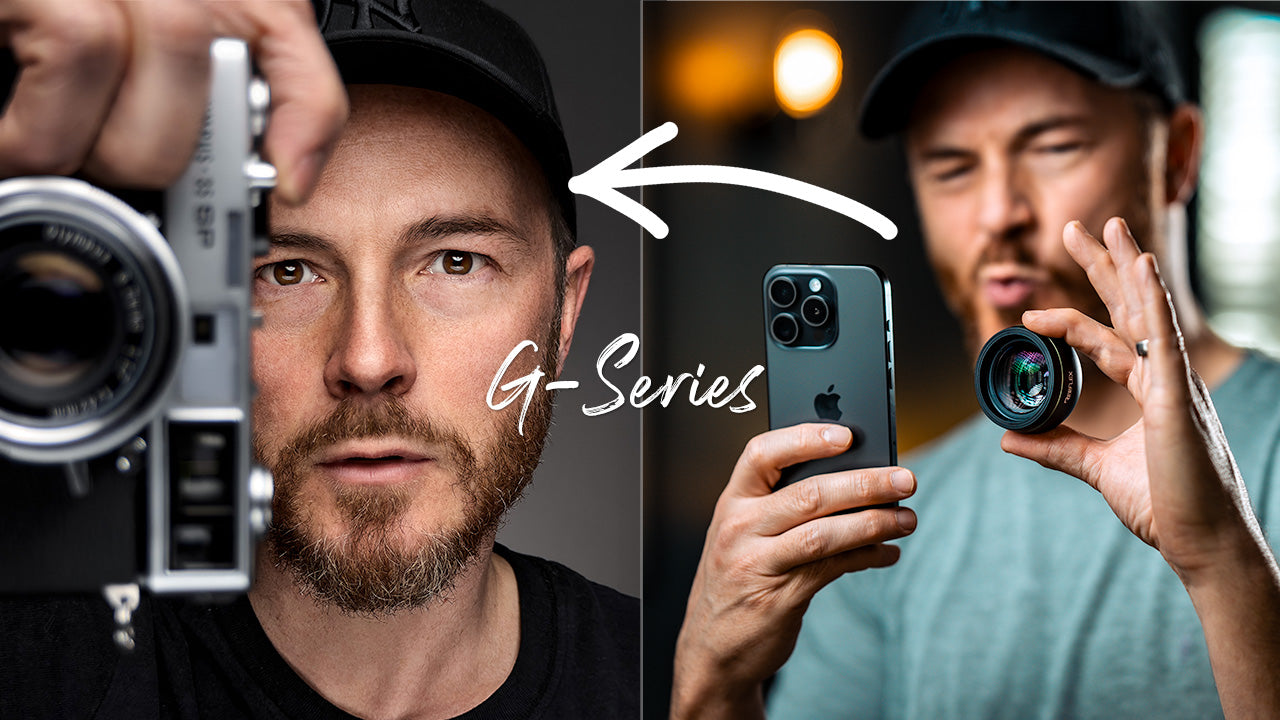


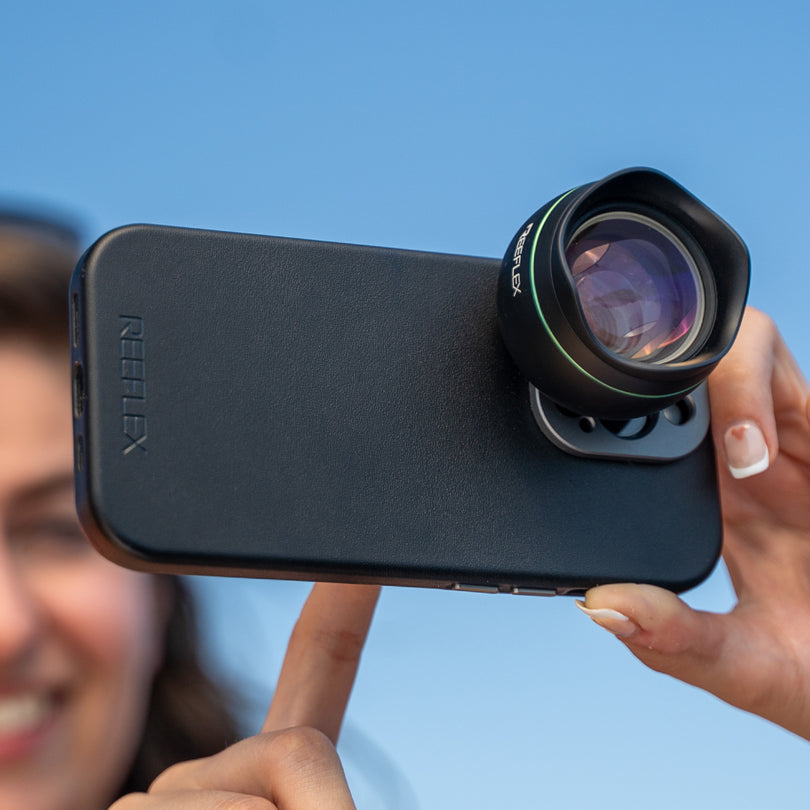
Reeflex Pro Camera is a pro-level photography app designed for enthusiasts, creatives, and professionals who want more from iPhone photography. It delivers advanced DSLR-style controls in a refined, intuitive interface — making powerful image capture feel natural and accessible.
With Reeflex Pro Camera, you can shoot classic still photography, create stunning long exposures through Slow Shutter modes, and take advantage of advanced tools like Focus Bracketing and Exposure Bracketing for greater sharpness, detail, and control.
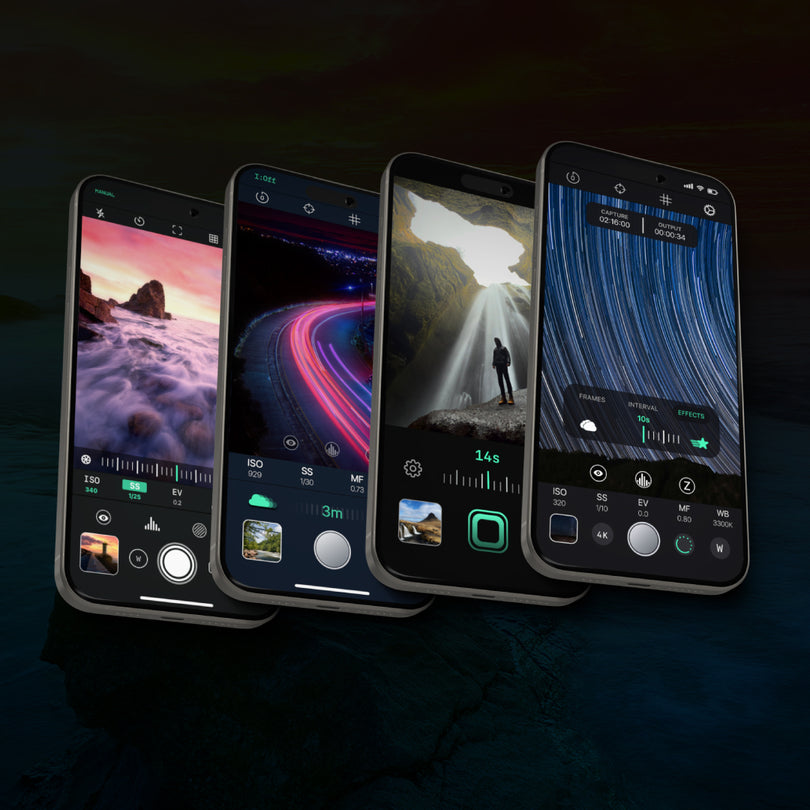
This tutorial will guide you through every major feature of the app, helping you master manual controls, long exposure modes, bracketing tools, and the complete Reeflex shooting workflow.
VIDEO TUTORIALS
GET STARTED
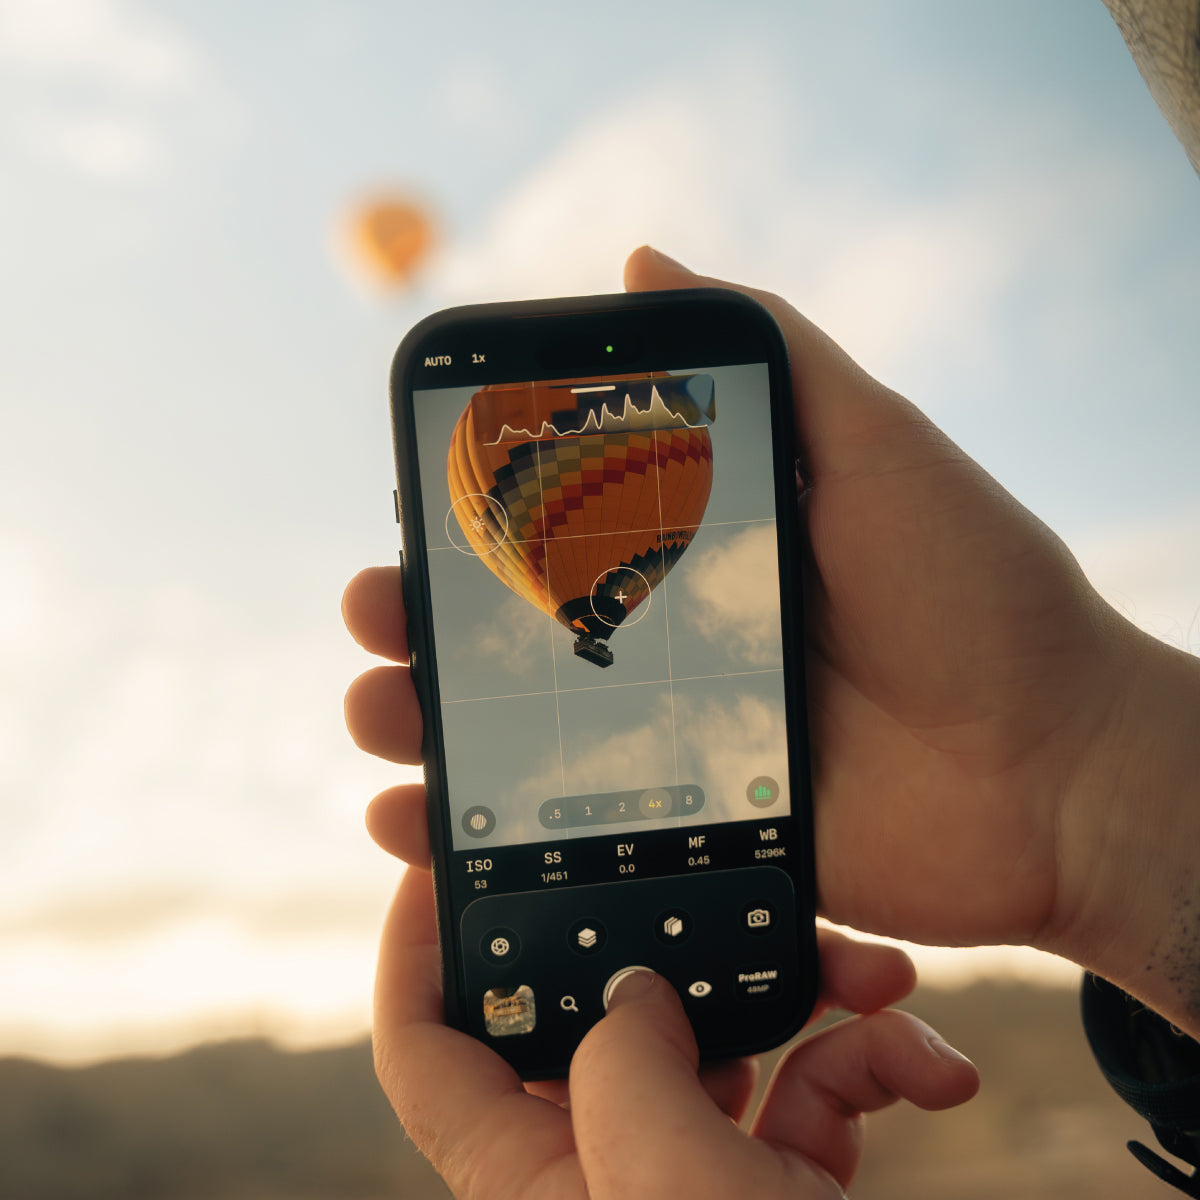
Go MANUAL - Press on any of the labels (ISO, SS, EV, MF, WB). Use the scroller indicator for selecting the right value.
Go back to AUTO - Double tap on the screen (viewfinder) to reset your settings to automatic mode.
FOCUS and EXPOSURE RETICLES - tap one time on the viewfinder and tap a second time but now using two fingers. The two reticles will now be displayed on your viewfinder. Move the reticles around the screen to select which area of the scene you want in focus and which area to set the exposure. To lock the selected AF and EF, use one finger to press and hold on the needed reticle. The reticle will turn green signalling that the camera will now keep the scene in the desired focus or exposure even while pointing the camera in different directions.

LIVE HISTOGRAMS - Available in both luma and RGB, the live histogram allows you to check the overall exposure of your image to obtain the most optimal level of brightness in your scene. The histogram will appear in the top part of the viewfinder, allowing you to monitor "Shadows", "Mid-tones” and "Highlights". Click on the histogram to switch in between luminosity and RGB modes. The control for the histogram is now located in the lower right corner of the viewfinder.

FOCUS PEAKING - Take advantage of the focus peaking feature for nailing manual focus settings over your subject. Focus peaking works by detecting edges of highest contrast in your scene (and therefore most in focus) and highlighting them in a green colour. Never miss a sharp shot anymore.

FOCUS LOUPE (MAGNIFIER) - New in Reeflex Pro Camera 3.0 is a magnifier to help with fine tuning your manual focus. The Focus magnifier control is located to the left of the shutter button and when you tap it, a digitally zoomed window appears in the centre of the viewfinder. Use the manual focus slider to get a tack sharp image. Tip: you can use the magnifier with focus peaking too.

ZEBRA STRIPES - Use the zebra stripes for identifying over or under-exposed regions of your scene. Red and blue striped patterns will appear in your scene, identifying respectively over and underexposed regions. Adjusting the Exposure Value (EV) you will be able to see how those regions change in surface, allowing you to obtain the desired level of details. The control for the zebra stripes is now located in the lower left corner of the viewfinder.

MANUAL CONTROLS
ISO - Use a low ISO value for daylight shooting. Ramp up your ISO values in low light conditions. Be careful, high ISO values will lead to additional noise in the image.
SS - Go to slower shutter speeds for low light scenes. Use a tripod to avoid motion blur in your pictures for low shutter speeds.
MF - Use the manual focus option when you want to highlight close subjects or focus on further away objects.
WB - Sometimes the automatic algorithm fails in choosing the correct white balance, resulting in pictures which appear too "blue" or too "yellow". Use the manual white balance correction to get colours as close as possible to what your naked eyes see.

HEADER BAR
The header bar is now hidden at the top of the viewfinder. To access it, pull down on the white line at the top of the view finder. If the histogram is active, the top line will still be accesible by pulling down the histogram block.

GRIDLINES
Switching on gridlines in the Reeflex Camera viewfinder will help you when composing your photos. The grid helps you line up elements in your photo to ensure horizons are level and architectural lines are straight. It’s also great for helping you compose a photo according to the Rule of Thirds or Golden Ratio. Another useful composition can be achieved with the squared grid.
To switch on the gridlines, while the header bar is open, tap the Crossed Squared Box icon, next to the Tiltmeter icon then select the needed grid.
TIMER
The extended timer allows you to set a 3-, 10-, and 20-seconds delay between pressing the shutter button and the photo being taken. This can be useful in a variety of shooting situations.
For example, if you’re using an iPhone mounted on a tripod, you can use the timer delay so that you can appear in the photo yourself.
It’s also very helpful when shooting in dark environments with a tripod. Leaving a 10 second delay ensures that the camera will be perfectly still by the time the photo is taken.
To activate the timer, tap the Timer icon, on the top header bar, right next to the Flash icon. To quickly deactivate the timer, tap on the timer icon at the top right corner of the screen. There is no need to open the header bar to deactivate it.
FLASH
Sometimes you might want to use the camera’s flash to illuminate a dark subject or brighten up the shadows in a scene. The flash is set to automatic by default. To fully turn on the flash, simply tap the Flash icon (lighting bolt) in the header bar, next to the timer button.
Now select the needed flash function you wish to activate and tap back on the screen (viewfinder). Tap the shutter button to take your photo with the flash.
To turn the flash off, tap the Flash icon on the top header bar and select the crossed out lighting bolt, or, like the timer, tap the flash icon in the top right corner of the screen.
GYROSCOPIC TILTMETER
The Tiltmeter is a simple graph-like method of showing how straight or level your iPhone is when taking a photo. The Tiltmeter is a fantastic tool for ensuring horizons or other lines in your photo are straight.
Tap the icon, representing a white circle with cross hairs, on the right side of the header bar, to select the Tiltmeter, which turns green when selected. You’ll now see a large cross (grey-colour) appear in the middle of the screen with two overlapping horizontal lines (white-colour), indicating the orientation of the iPhone. Tap again on the icon to disable the Tiltmeter. You have to do this with the header bar open. As you tilt your iPhone, you’ll see the two horizontal lines (white colour) move according to your iPhone movement.
When the horizontal lines align exactly with the Tiltmeter grid (grey cross), the Tiltmeter will turn green and you know that your iPhone is perfectly level (with some minor tolerance) – so, in line with the horizon.
To turn off the Tiltmeter, tap again on the Tiltmeter icon, which will turn from green to white again.
SLOW SHUTTER MODES (Long Exposure)
Taking Long exposures requires a tripod with a mount that will hold the iPhone, unless you want to do Intentional Camera Movement. To take a long exposure, tap the Slow Shutter icon at the left side of the Mode Section row.
A scale will slide open where you can set the length of your exposure from 0.5 seconds to Bulb, in which case you have to stop the exposure manually. To the right of the scale is a set of icons that you can toggle through. The cloud icon is for motion blur, and the stars icon is for light trails.
To return to normal shooting, tap the Slow Shutter icon again. The scale will disappear and the rest of the mode selections will return.

FOCUS BRACKETING
For those times when yo want everything in the frame in sharp focus, you need to do a process called focus bracketing. This requires using a tripod to work effectively because the images need to align perfectly, and you also need software that can stack the images to create an image that is completely in focus.
To capture multiple shots, you tap the Focus Bracketing icon, which is next to the Slow Shutter icon, and looks like square layers stacked up. A scale will slide out with circular indicators on each end. Slide these indicators to select your minimum and maximum focus distance.
There is also a dial where you can select the number of frames to shoot in your bracketing sequence, ranging from 3 to 100. Once you have these parameters set, tap the shutter button and the camera will take a shot, then adjust the focus to the next increment and take the next shot. It will repeat this process until the range of focus has been achieved and the number of frames have been exposed.
The images will be in your camera roll ready to export from your iPhone and import into the appropriate software to create the final image. To return to normal shooting, tap the Focus Bracketing icon again.


EXPOSURE BRACKETING
In difficult lighting conditions, you may want to try different exposures to either find an exposure that works best for the scene, or combine a set of images for exposure blending. This procedure may require the use of a tripod, especially for exposure blending in dedicated software. Reeflex Pro Camera 3.0 now has the ability to shoot three consecutive frames where one is under exposed, one at the correct exposure, and one over exposed.
To set your bracketed exposures, tap the Exposure Bracketing icon next to the Focus Bracketing icon. A scale will appear with a green line in the centre with EV above it, and two green brackets, one on each side. The green line in the centre represents your correct exposure setting, which is from the camera’s automatic metering, or from a manual setting of your choosing.
The brackets can be adjusted anywhere on their respective sides to over or under expose in half stop increments to a maximum of + or - 4. Once you are ready to shoot, tap the shutter and the camera will take three shots in succession, beginning with the under exposed image, then the correctly exposed image, and finally the over exposed image. The images are in your camera roll ready to be selected according to your taste, or blended in the appropriate software.
To exit Exposure Bracketing, tap the mode icon to return to normal shooting.


BURST MODE & BURST ON TAP
Action shots are best captured in Burst Mode so you have a number of exposures to choose from. It is on by default, and to use it, you just tap and hold the shutter button. In the settings section, accessible by tapping on the gear icon in the header bar and selecting Camera Settings, you can activate Burst on Tap. With this on, you can select the number of burst shots the camera will take, from 2 to 20.
Turning Aggregate Burst Shots on will show the bursts in your camera roll and the image gallery where they will have a tag indicate that they are a burst and how many images are in each one. Additionally, there’s a Lock Focus feature, so it your subject moves around, you can still get sharp image capture while taking the burst.
FRONT CAMERA
If you want to take a self-portrait photo you’ll need to select the front-facing camera. To switch to the front camera, simply tap the Front Camera icon with the circular arrows in the Mode Selection row above the shutter button.
After taking your photo, you can return to the rear-facing camera by tapping the Front Camera icon again.
CAMERA SETTINGS
ISO
In digital photography, ISO refers to the sensitivity (signal gain) of the camera’s sensor. The lower is the ISO number, the less sensitive the sensor is to the light available in the scene. The correct level of ISO can vary greatly depending on when and where you are shooting.
For example, if you are shooting in day light, you should use a low ISO value. Contrarily, for shooting indoors or in darker conditions, you should increase your ISO. Even when the overall scene allows the use of a low ISO, you might want to increase you ISO level to be able to increase your shutter speed, capturing a sharp image of a fast-moving subject.
However, in any case, keep in mind that increasing the ISO value also means increasing the noise in your image.
SHUTTER SPEED
The “shutter speed” refers to the amount of time that the image sensor keeps capturing light from the scene. In the Reeflex camera app, the shutter speed is indicated as a fraction. The lower the denominator, the longer the sensor allows light in. A slower shutter speed is indicated to capture images in low light conditions. However, if the phone is not perfectly still, a slow shutter speed will result in a blurred image. Therefore, we recommend using a tripod for slow shutter speed.
You can use slow shutter speeds to intentionally achieve blur in your image. Increase your shutter speed when you want to freeze a fast-moving subject in your scene.
MANUAL FOCUS
Attaining a relatively sharp image first comes with proper focal range. Most DSLR shooters capture with autofocus because it’s simple, effective, and reliable. However, having the option to manually focus on a particular subject, or part of a subject, is crucial to finalizing the perfect picture. Manual focus especially comes in handy when the camera can’t quite fix on what part of the frame you need.
The focus slider allows you to manually focus by sliding focal point from near to far. This comes particularly useful when shooting portraits or other subjects in the foreground.
WHITE BALANCE
The main goal of white balance is to include the same colors and tones seen by the naked eyes into your digital photos. Most current devices have automatic white balance settings. However, in tricky light conditions, the algorithm gets tricked and your pictures result too “bluish” or “yellowish”. Reeflex camera app allows you to accurately change the temperature of the colors present in your image, to take your pictures to the next level.