


Taking a long exposure photo with a traditional camera – in the light of day – requires a tripod (obviously) and the use of a filter, whether it’s a polarizer or a Neutral Density filter of some sort. Those cameras just can’t make a lengthy exposure like that without one. The advantage of using traditional cameras is that the shutter can stay open for as long as you want. The iPhone on the other hand is a different story, except for the part about the tripod. You still need that… unless you use ReeHeld, but that’s another column.
Modern iPhones can only keep the shutter active for a maximum of one second, and that’s by design as Apple does this to prevent overheating the processors. Exposures beyond one second have to be done by stacking a number of exposures on top of each other using a process called Frame Averaging. This type if camera functionality has been available on iPhone for quite some time.
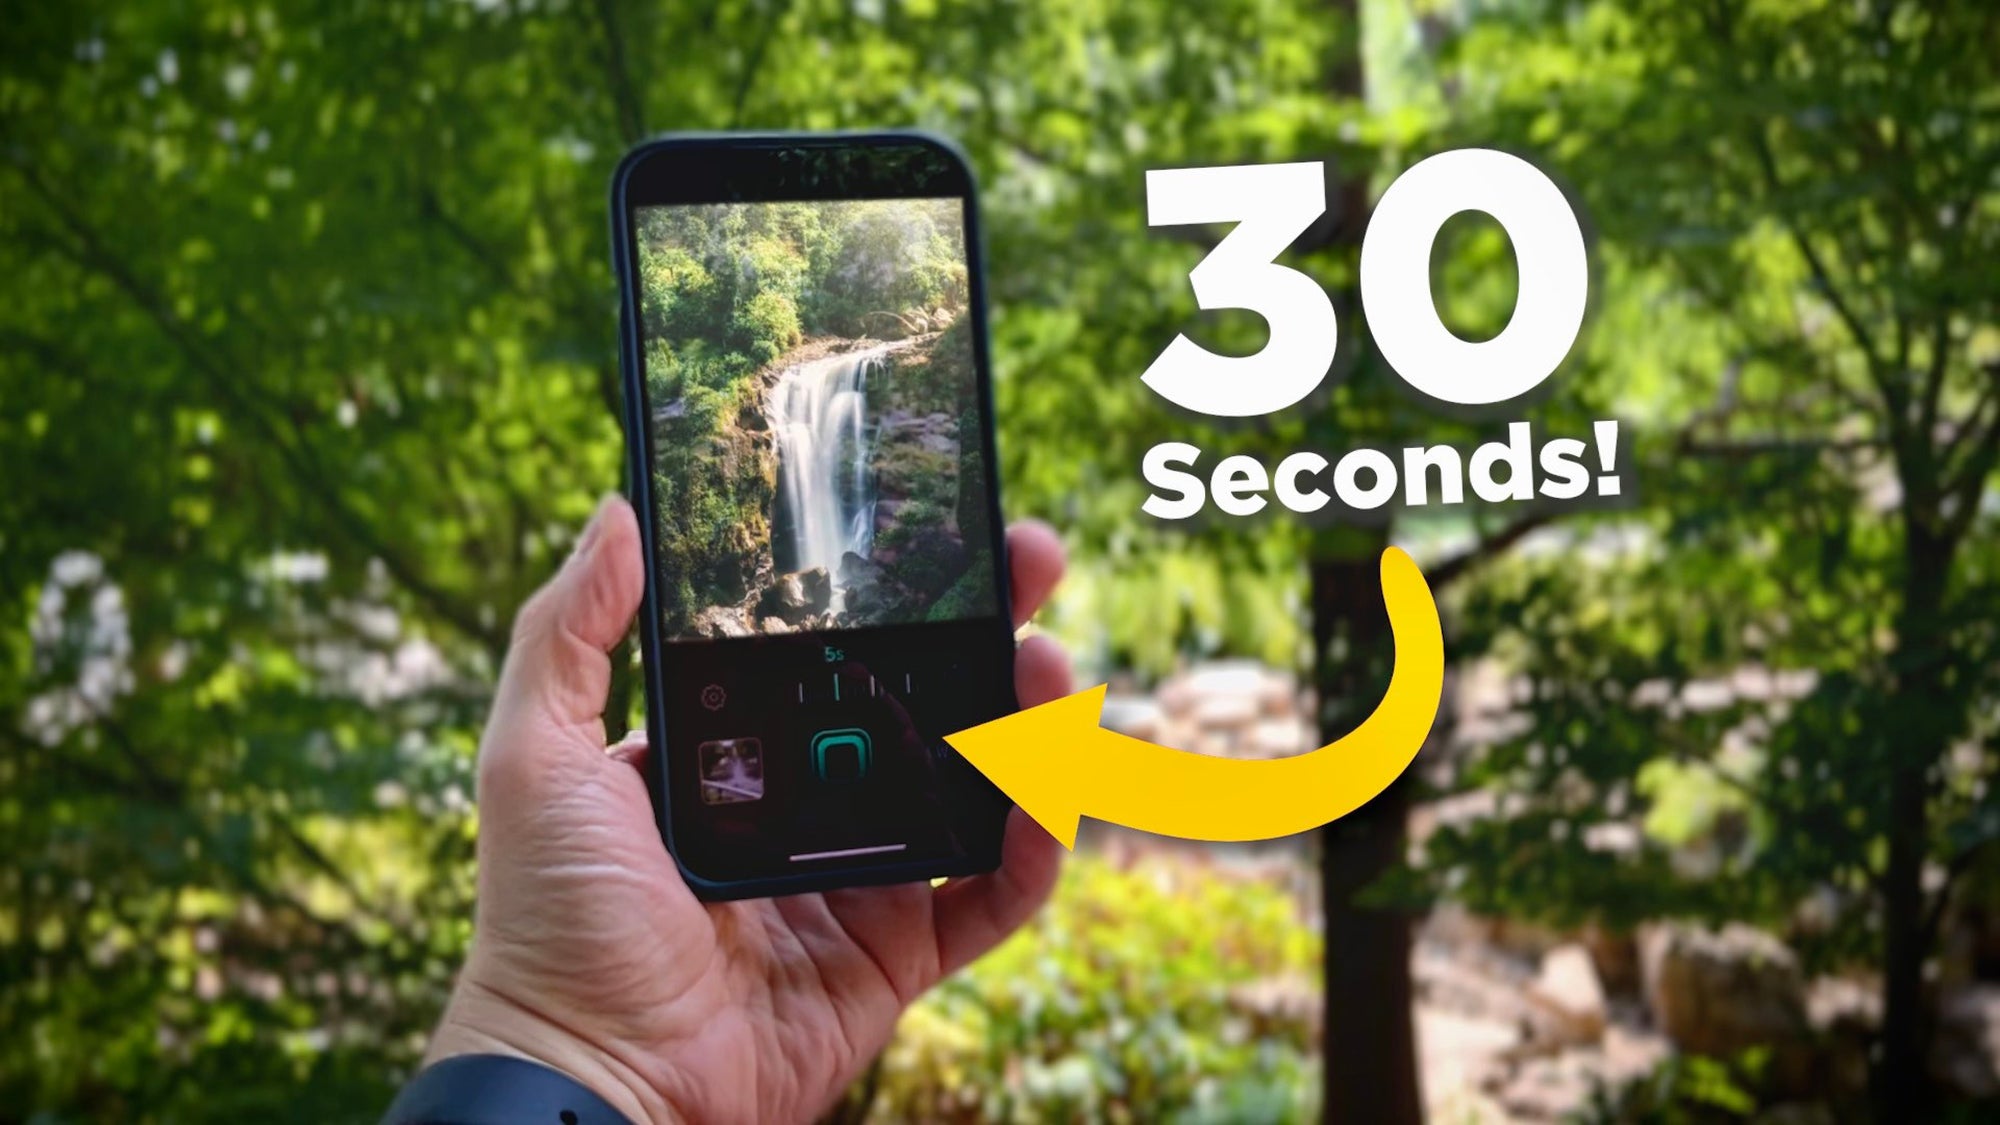
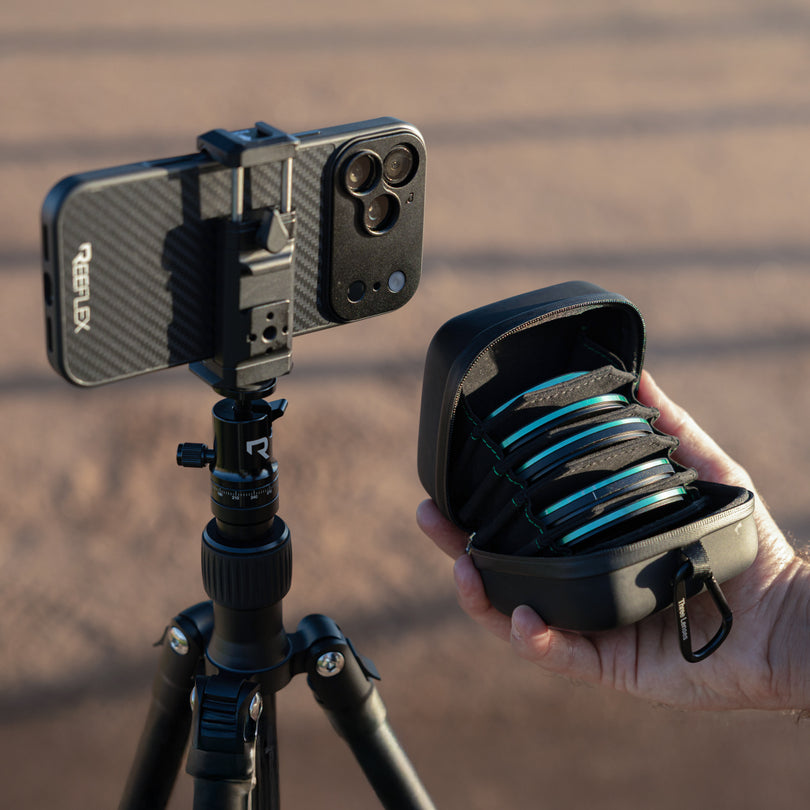
Today, I use Reeflex to do this. ReeXpose can produce RAW long exposure images in DNG format but for now, I won’t get into the RAW side of this procedure because most folks will elect to shoot in JPG. I use Reeflex Pro Camera because I like to have the ability to control the various aspects of a camera’s functions including focus, shutter speed, EV, etc. With Reeflex these functions are all front and centre in the UI and with Reeflex’s long exposure feature, these functions can still be used.
So, enough small talk. Let’s get into the topic of whether or not we need to use a filter for long exposures on iPhone. Shooting these lengthy shot sequences can give you good results but they can also give you a less than desirable result, depending on the settings you use, the environment you’re in and the subject matter. Just taking a shot by composing and tapping the shutter may or may not be enough. To dive deeper into this discussion, and pardon the pun here, but I’m going to use the example of capturing the smooth flow of moving water because this is probably the most popular use of this technique.
In a long exposure, if the water is moving very fast, you may end up with a look known as “braiding” which is what you see when the streaks of water are broken up and aren’t very smooth. This happens when the shutter speed of each individual frame is too fast. This can easily happen if the conditions are too bright, like in midday and the sun is shining. The quick workaround for this is to shoot a longer sequence to give you more frames for the blending process, but you’re in danger of eventually overexposing the scene, especially in highlight areas where the water is white. You could also introduce some motion blur of plant life if there is a breeze, but sometimes that’s inevitable anyway. There are two possible remedies to help avoid this braiding problem. One is an app like Reeflex itself, the other is a Neutral Density filter.
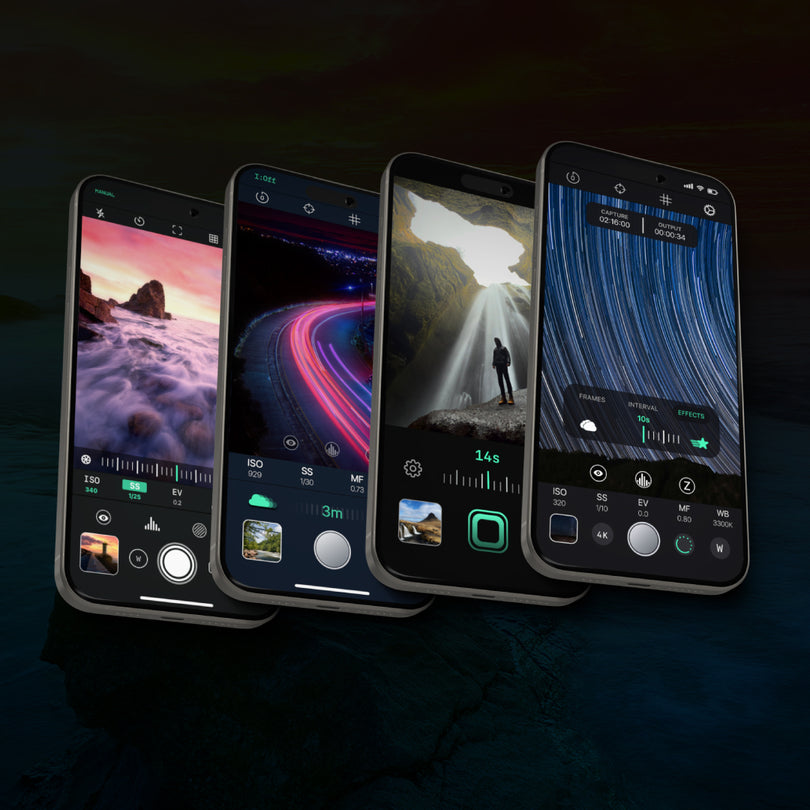
As I mentioned above, Reeflex has some nice manual controls that are easy to access and use. When setting up a long exposure shot, the first thing I do is turn on the histogram and activate the zebra stripes. Even though I’m using a pro featured camera app like Reeflex, I’m still using an iPhone, and it’s going to do its best to give me the best exposure possible for the conditions, and with that, in a lot of cases, an image file with a lot of exposure latitude. The zebra stripes will show me where in the frame any highlights could get blown out. It’s important not to blow out the highlights because they can’t be recovered but you can still pull the details out of a dark shadow area, so what I do when shooting a long exposure is set the ISO to its lowest setting (for the best image quality) and adjust the shutter speed by slowing it down until I see the zebra stripes in the highlights. At the same time the histogram, if you have it turned on, will move to the right and the data will start clipping, so I dial the shutter speed back up just until the zebra stripes disappear. This will give me a long exposure sequence with the slowest shutter speed while retaining all the image data, which in turn produces the smoothest water flow. Or does it?
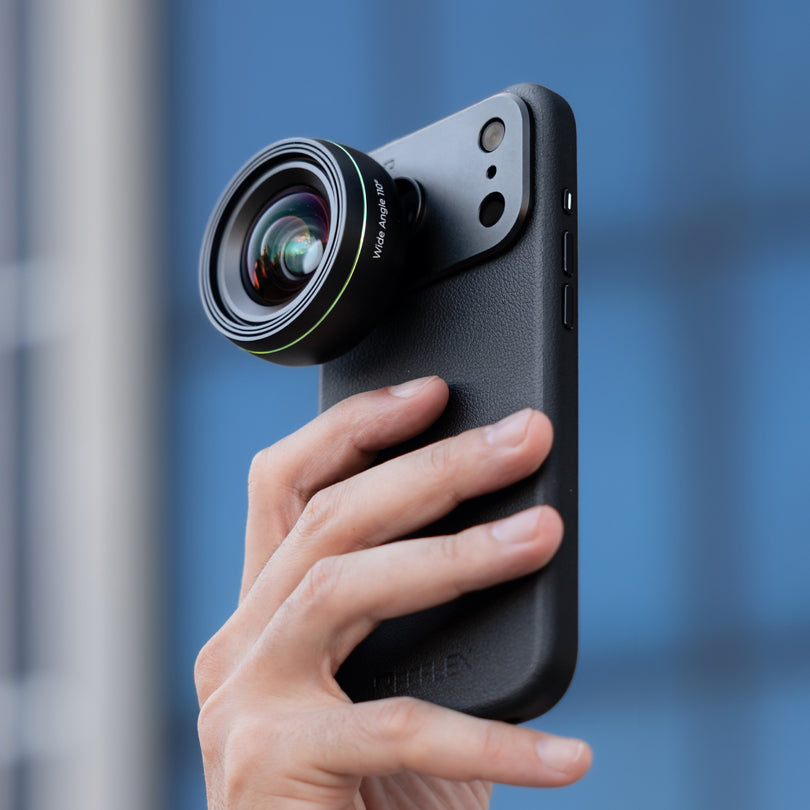
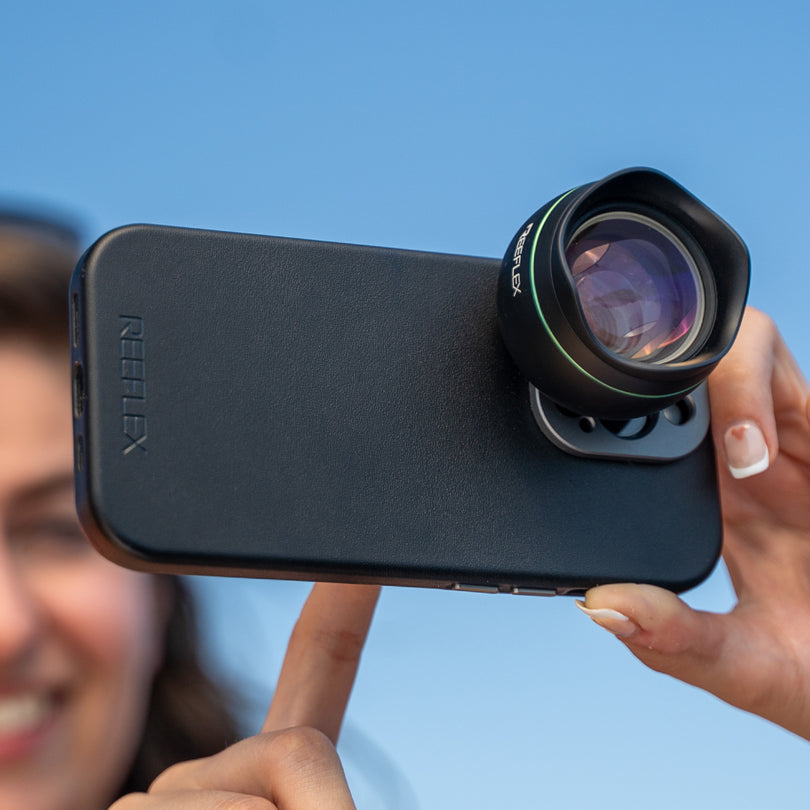
With all this talk about how I shoot a long exposure, I bet you’re wondering where the filter fits in and why I would even need one. Well, the process I just described is how I would shoot a long exposure without the use of a Neutral Density filter. Put a filter over the camera’s lens and it blocks light coming into the sensor, and the darker the filter, the more light gets blocked. What happens when you starve the sensor of light? The camera reacts by adjusting the iso and/or shutter speed to get you back to a good exposure.
Once I have the filter mounted, I make sure the ISO is still at its lowest point, then I can readjust the shutter speed until I see the zebra stripes again, then back it up until they’re gone. What you’ll notice now is that the shutter speed will be slower than it was without the filter. This has an effect on how the long exposure is created and in my opinion, it’s in a good way.
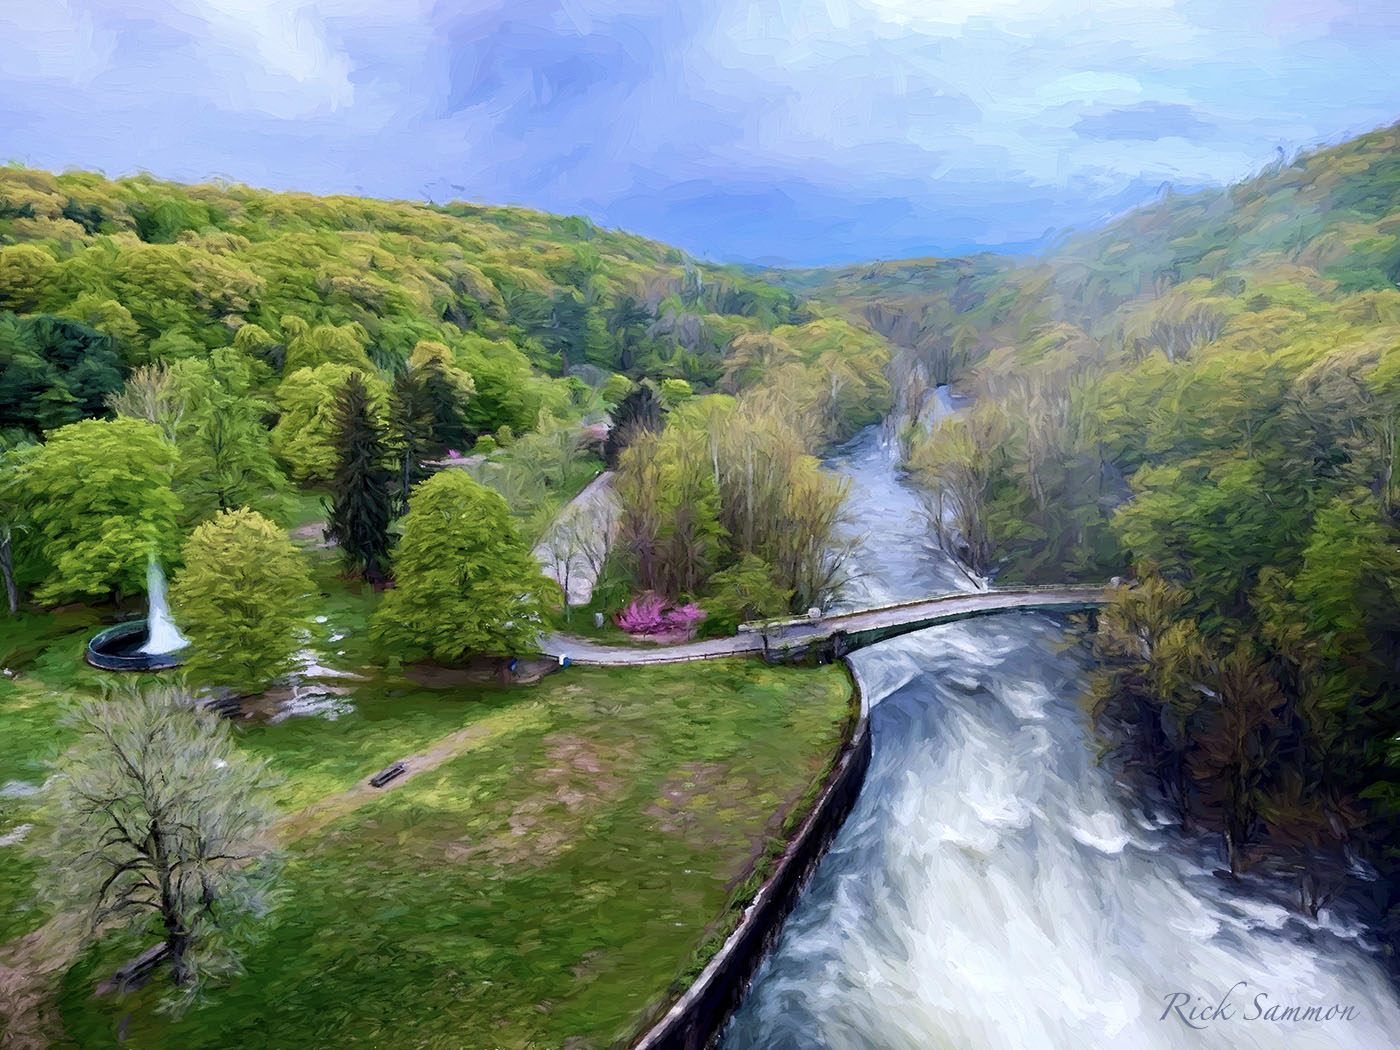
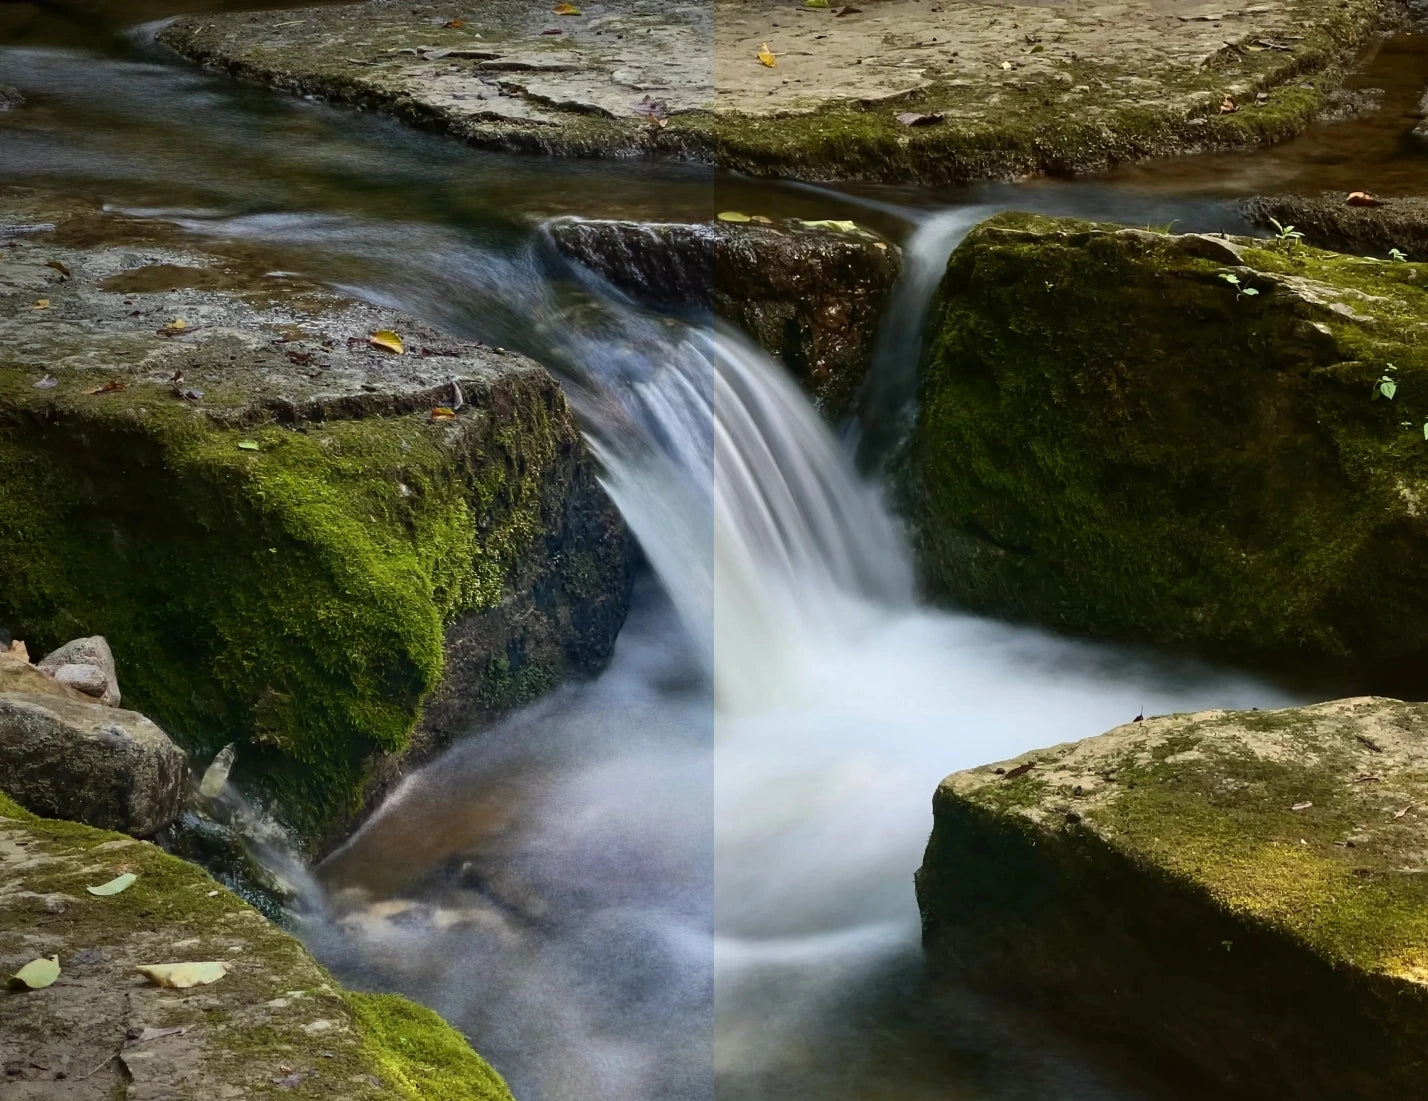
 4 STOP ND Filter, Shutter Speed: 1/22 sec.
These two images were taken for a duration of five seconds. For the image that was shot without my 4 stop ND filter, the shutter speed used to shoot the frames that were blended together in the frame averaging process was set to 1/177th of a second. That’s not lightning fast but it’s fast enough to almost freeze the water if I was shooting a single shot. When I shot for the same length of time at the same ISO and with the filter on the lens, I was able to achieve a shutter speed of 1/22nd of a second. This does a couple of things: it gives a more saturated look to the image and, since each frame is exposed longer, it allows more movement in the water to be used each time. When this is all blended together as the image file builds, the result is a nicer looking, more artistic finished product.
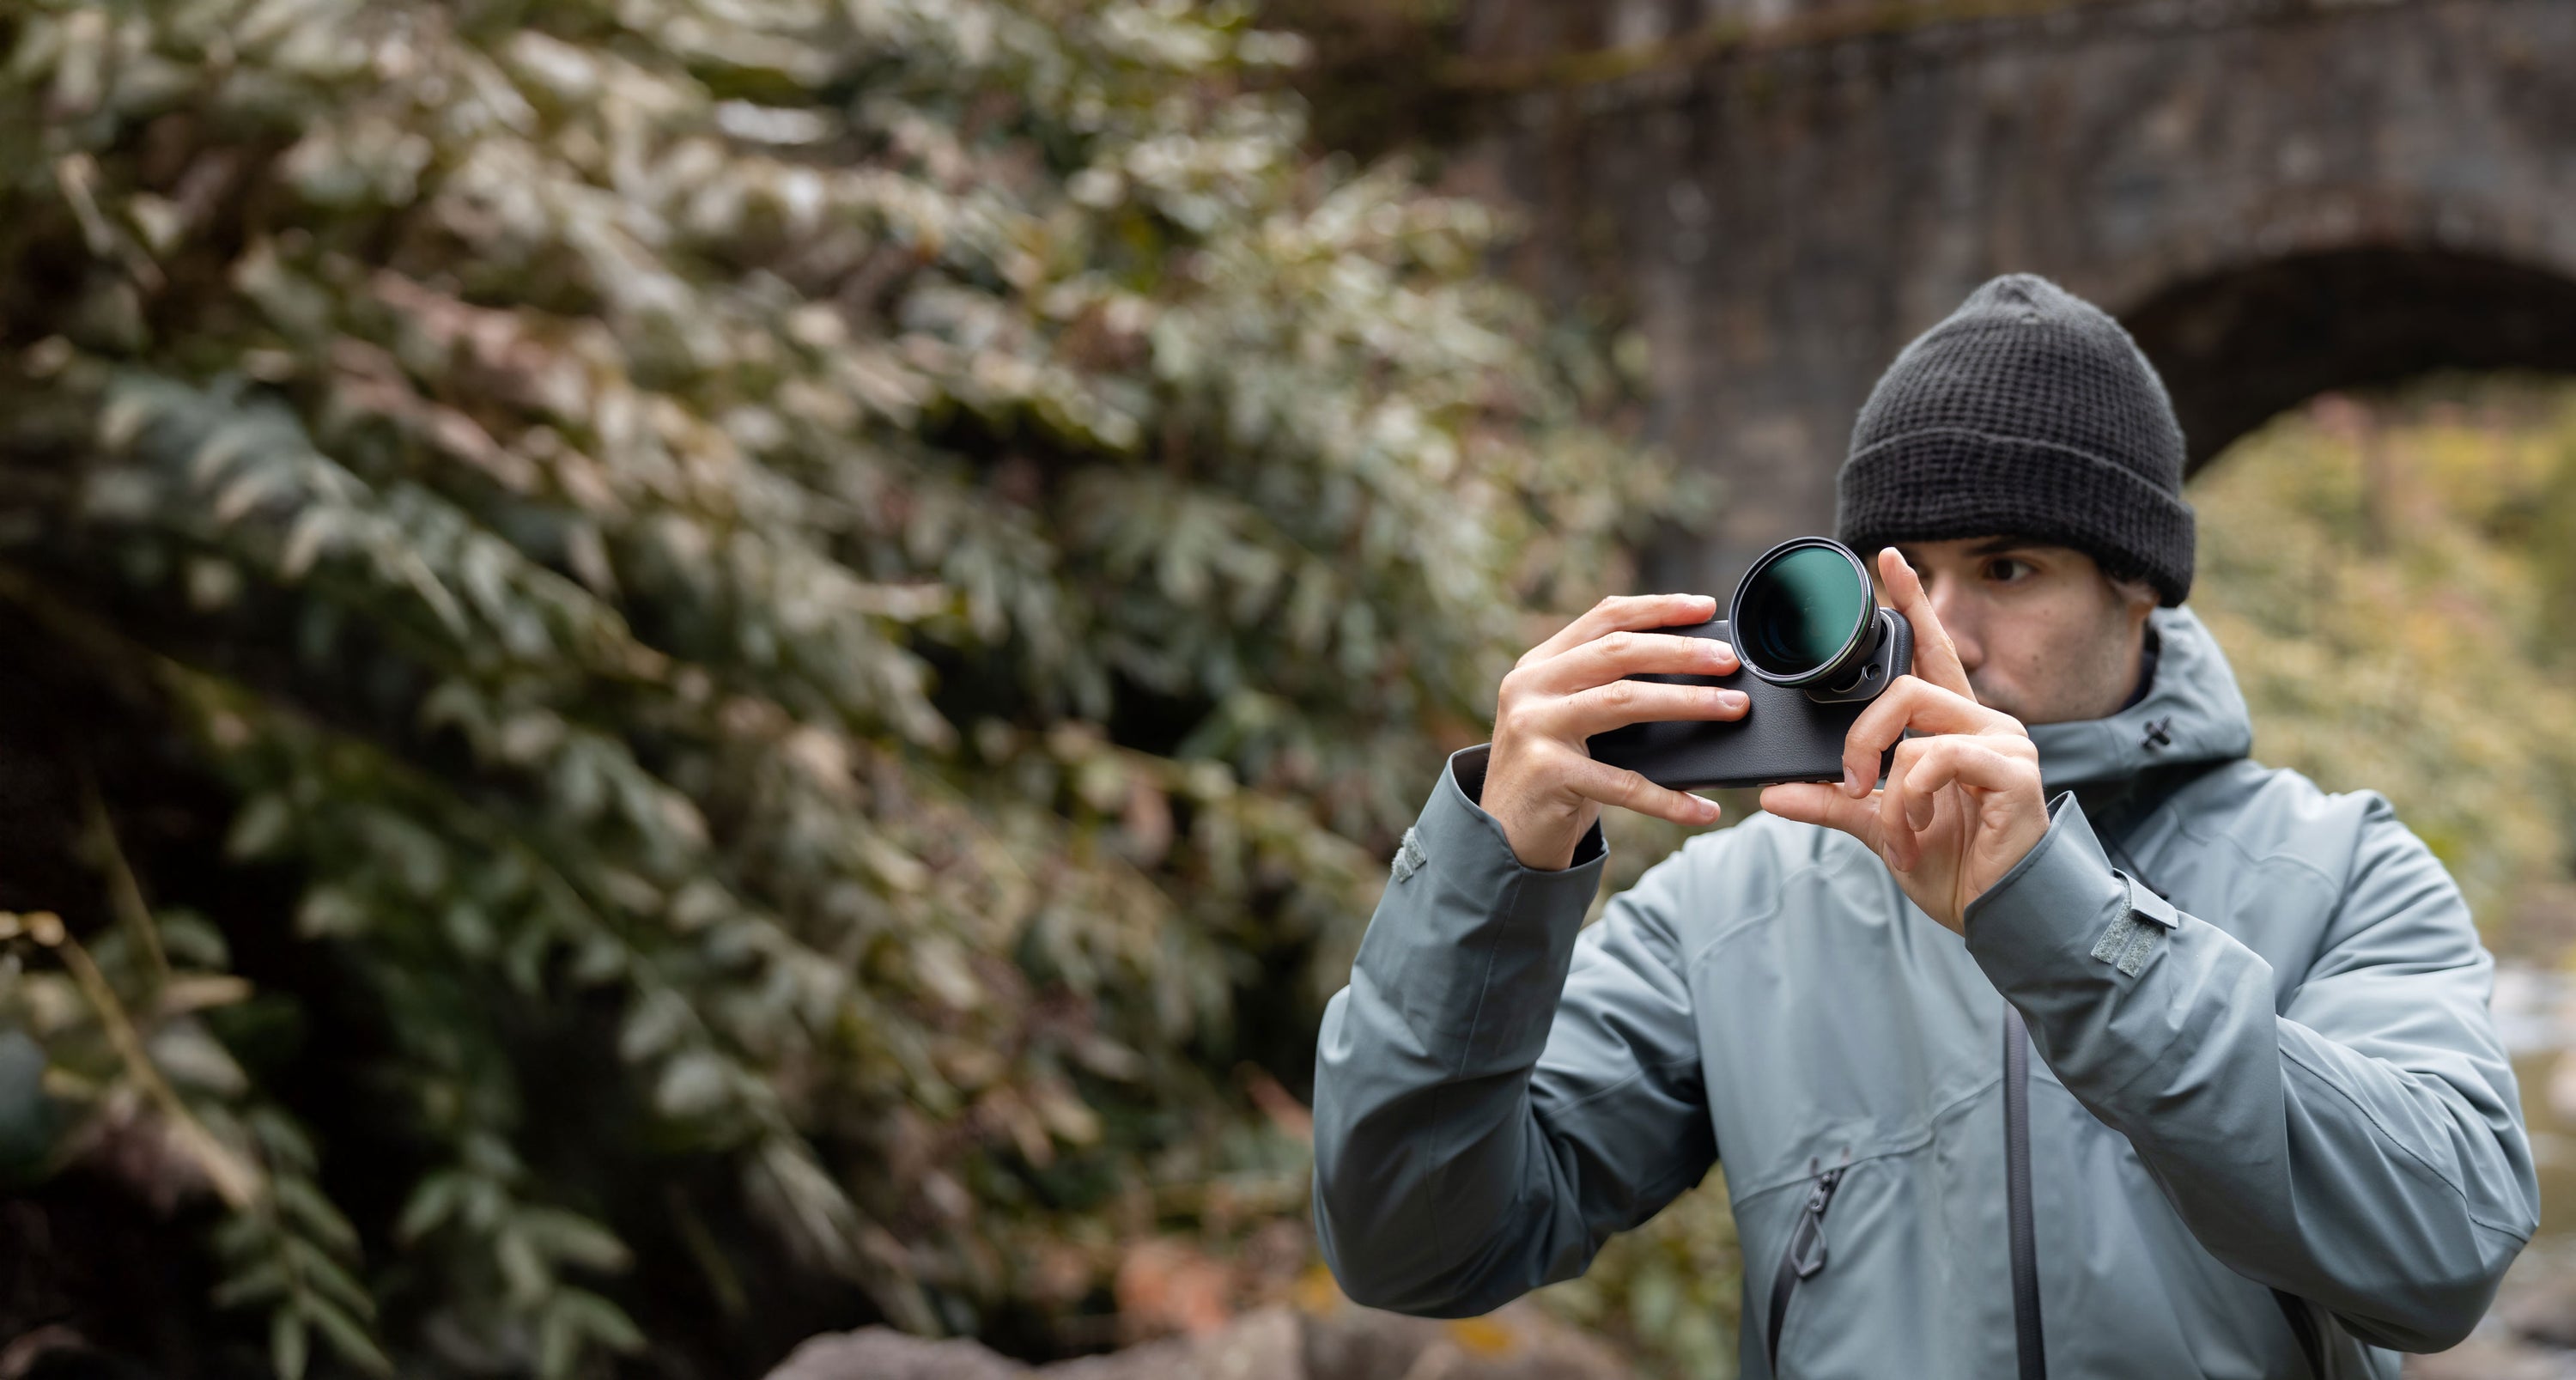
I take a photographic approach to my mobile photography and I truly believe that this example is proof that sometimes it’s just better to do it that way. I sold my DSLR in 2016 and have been practicing photography with just an iPhone ever since. And I haven’t regretted it for a second. I wrote this article with the hopes of illustrating that just because I shoot with a phone, that doesn’t mean I can’t be a serious photographer. On The iPhoneography Podcast, I talk about a lot of different apps and products, but the kit I carry holds Reeflex filters and I shoot with Reeflex apps.
Greg McMillan
@mcmillan_photo
https://mcmillan.photos/
https://podcasts.apple.com/ch/podcast/the-iphoneography-podcast-an-iphone-photography-show/id1496293778