






Edit Your Ultra Telephoto Shots
Your Ultra Telephoto Lens photos edit just like any other iPhone shot — but this video guide covers a handful of tricks specific to RAW and ProRAW shooters that are well worth knowing before you write off a shot as unsalvageable.
Getting More Out of Your Shots
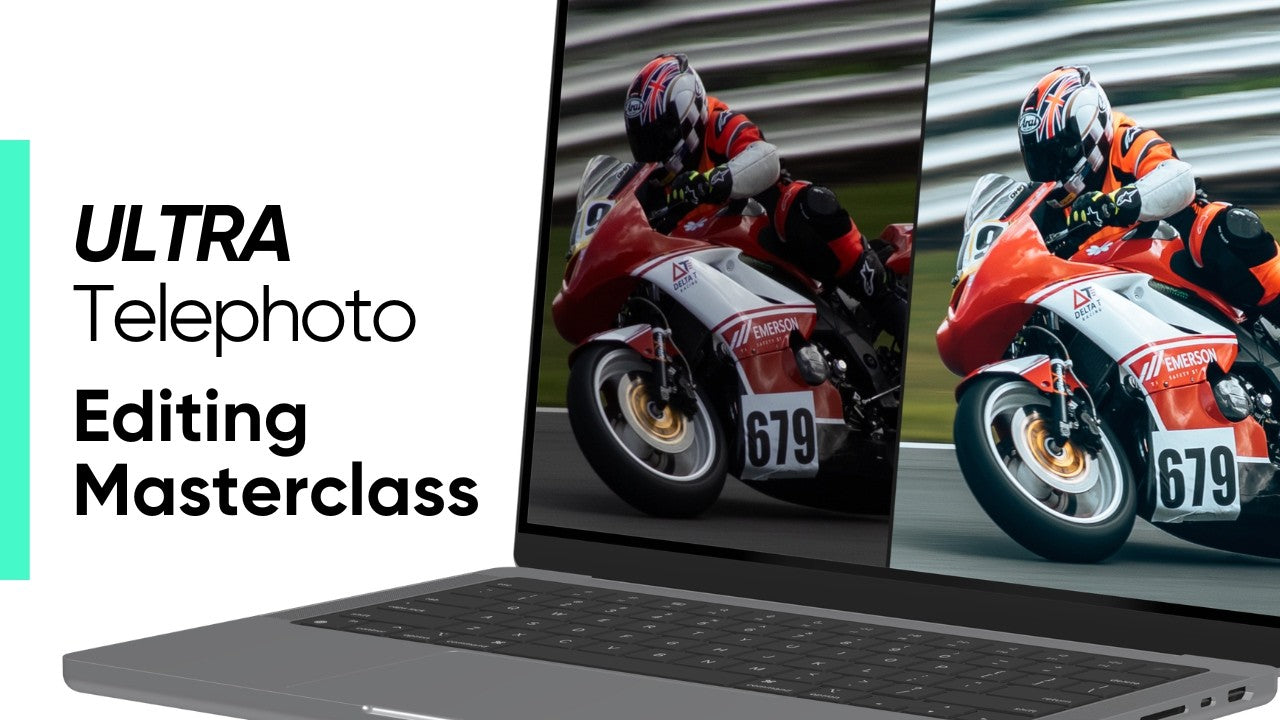
The full video guide walks through editing techniques for RAW and ProRAW shooters, including how to recover a rough motorsport panning shot and turn what looks like a throwaway image into something usable.
What the Guide Covers
A quick overview of the RAW and ProRAW editing techniques covered in the full video guide.
01 Rescuing Underexposed RAW Files
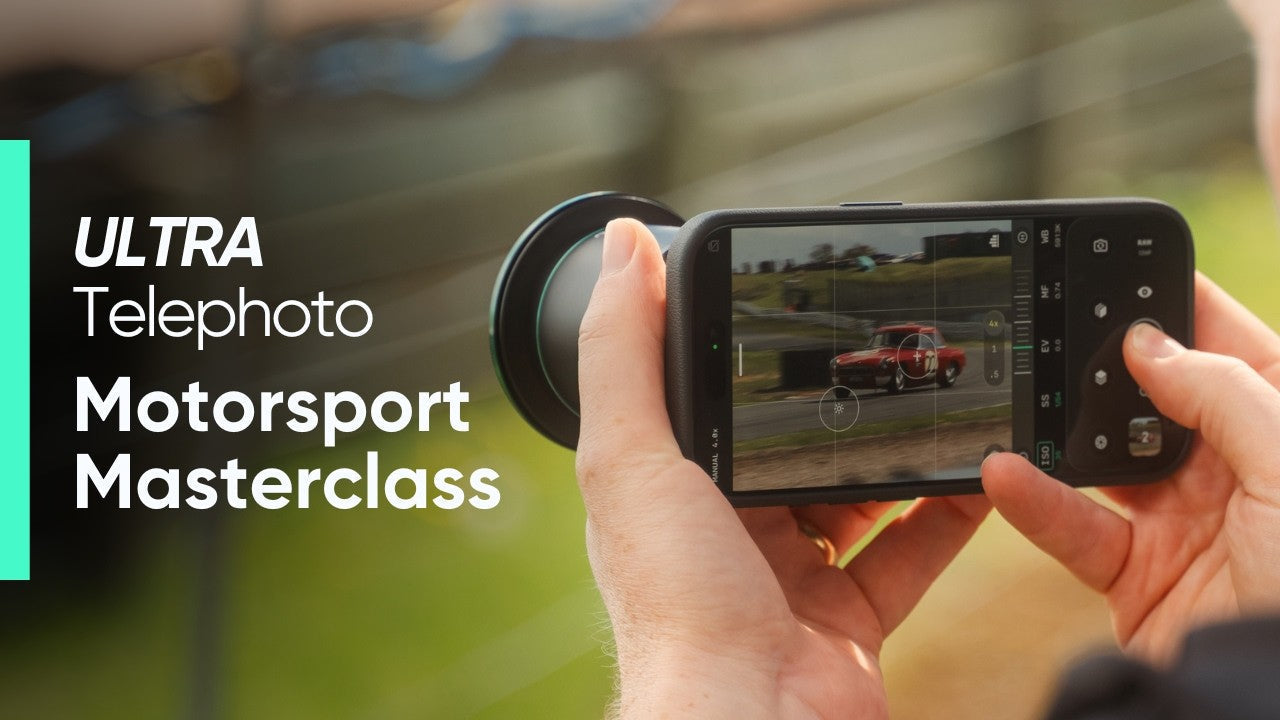
The video uses a genuinely rough motorsport panning shot where an ND filter was too strong and the ISO was not bumped up to compensate, leaving the image dark, noisy, and with focus on a knife-edge thanks to the slow shutter speed.
02 The Three-Step Fix
Recover exposure with curves, clean up noise, and sharpen — turning what looks like a throwaway shot into something usable.
03 Sharpening, Properly Explained
The guide breaks sharpening down into Amount, Radius, and Detail, so you can actually control the look instead of guessing.
04 A Colour-Channel Trick for Extra Detail
Adjust individual colour channels to bring out apparent detail and texture that a standard sharpening pass would miss.
05 Sharpen for How It’ll Be Seen
How much you sharpen should depend on viewing distance. Crop in tight or expect people to view it up close, and you’ll want more sharpening; if it is being seen full-frame or online, ease off.
06 Getting More from ProRAW
The guide shows how to pull extra detail out of images that look flatter than they actually are, including recovering detail from highlights that look blown-out or clipped at first glance.
Key Editing Takeaways
A few simple rules from the full guide to keep in mind when working with Ultra Telephoto RAW and ProRAW files.
Don’t Write Off the Shot Too Soon
Some RAW and ProRAW shots may look dark, noisy, soft, or clipped at first glance, but can still be recovered with the right workflow.
Recover, Clean, Sharpen
The video walks through exposure recovery with curves, noise cleanup, and sharpening as a practical three-step process.
Sharpen with Control
Amount, Radius, and Detail affect the image differently. Understanding them helps you shape the final look instead of guessing.
Edit for the Final View
A tight crop or close-up view needs different sharpening than an image that will be seen full-frame or online.
Watch the Full Editing Guide
Watch the full video for the step-by-step walkthrough of each technique, including the before-and-after on the recovered motorsport shot.